Tikal Update Manager (TUM) is a YUM-like graphical user interface that wraps Eclipse update sites, adding intuitive discover/install/update/remove functionality for Eclipse plug-ins and features.
To open the Update Manager start from the Eclipse Help menu item:
Help -> TUM Updates -> Update Manager...
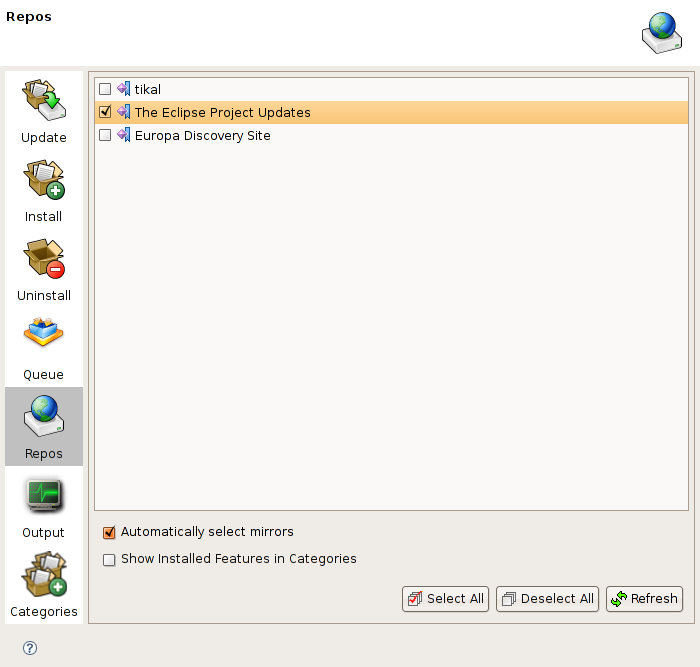
Click the Repos button, then right-click the main display area and select New Remote Site or New Local Site, as desired.
Fill in the name and URL of the remote update site, or select a local folder for local update site.
After completing, you should see the new repository added to the list of existing repositories.
Remember to check the new repository and to press Refresh before proceeding to feature installation/update/removal.

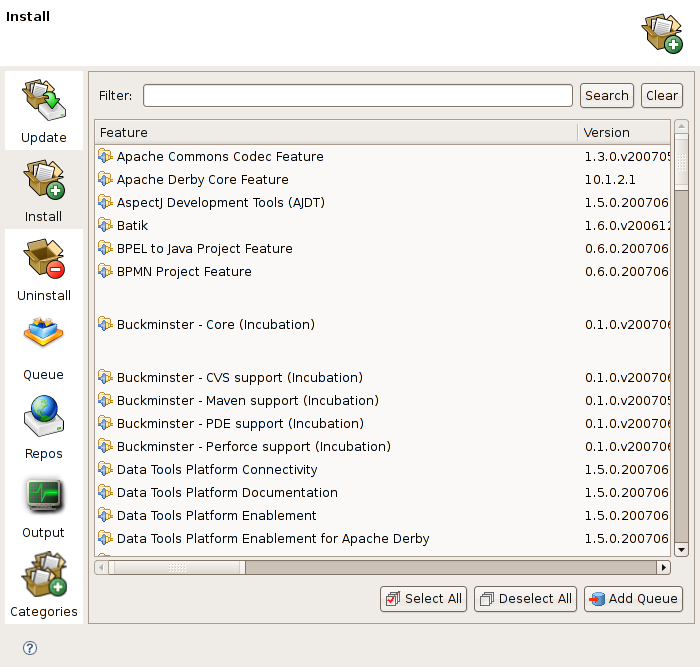
Click the Instal/Update button, select feature(s) to install/update from the list(you may perform a preliminary search using the filter field), and click the Add to Queue button.
When done, click the Queue button and review the list of features you've selected for installation.
At this stage, you may remove some features from the list(using the Delete From Queue button), or, if required dependencies are missing, add them automatically using the Add Required button.
After finalizing Queue contents, press the Process Queue button.

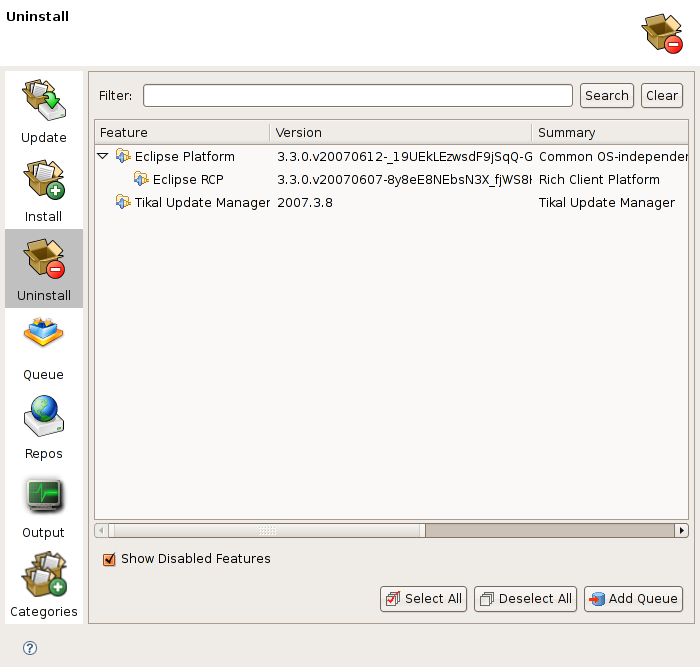
Click the Uninstall button, select feature(s) to remove from the list(you may perform a preliminary search using the filter field), and click the Add to Queue button.
When done, click the Queue button and review the list of features you've selected for removal.
At this stage, you may remove some features from the list(using the Delete From Queue button).
After finalizing Queue contents, press the Process Queue button.

Click the Repos button, select or add a one or more repositories and click the Refresh button to retrieve site contents.
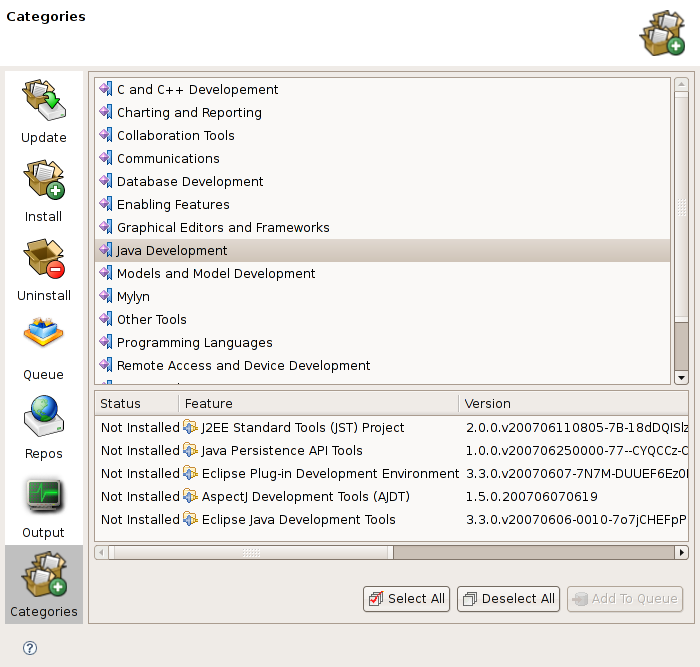
Now click the Categories button, select group(s) to install from the list, and click the Add to Queue button.
When done, click the Queue button and review the list of features you've selected for installation.
At this stage, you may remove some features from the list(using the Delete From Queue button), or, if required dependencies are missing, add them automatically using the Add Required button.
After finalizing Queue contents, press the Process Queue button.
